-
How to add conditional elements to badges
Setting this up is straightforward. You are essentially telling the system: "Only print this specific thing if that specific condition is true."
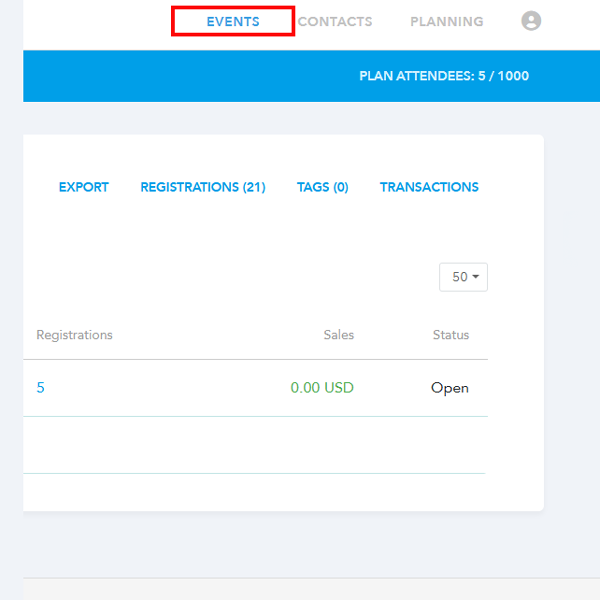
- Log in to your account on Eventleaf.com and select the event you want to manage.
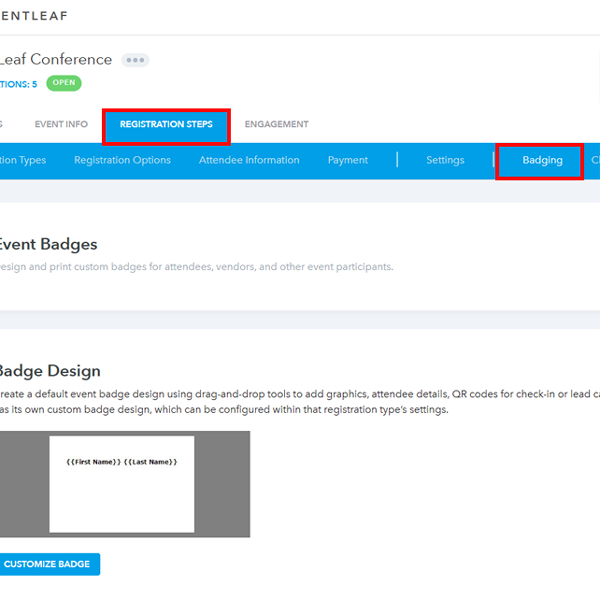
- Go to registration steps and then “Badging”.
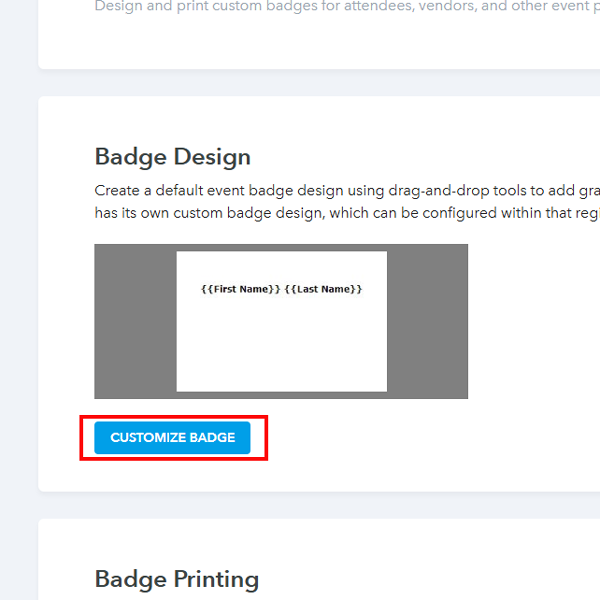
- Click on “Customize badge”.
- Add the text that should appear when the conditions are met.
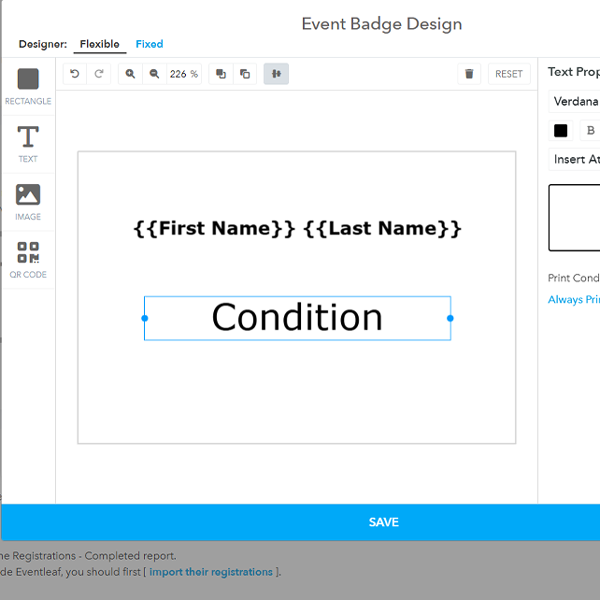
- Click on “Always print”
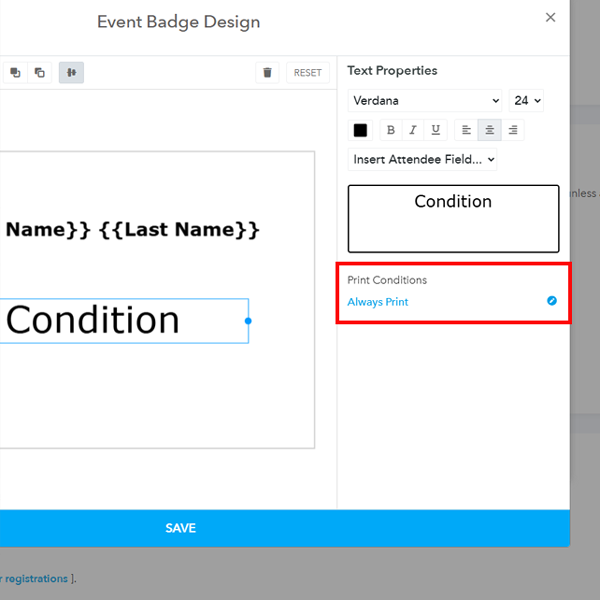
- Then enable the “Only print the element when the following conditions are met” and then choose the condition.
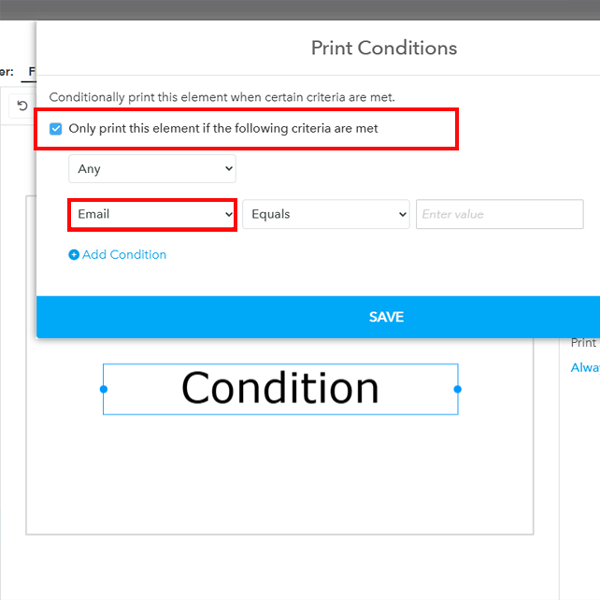
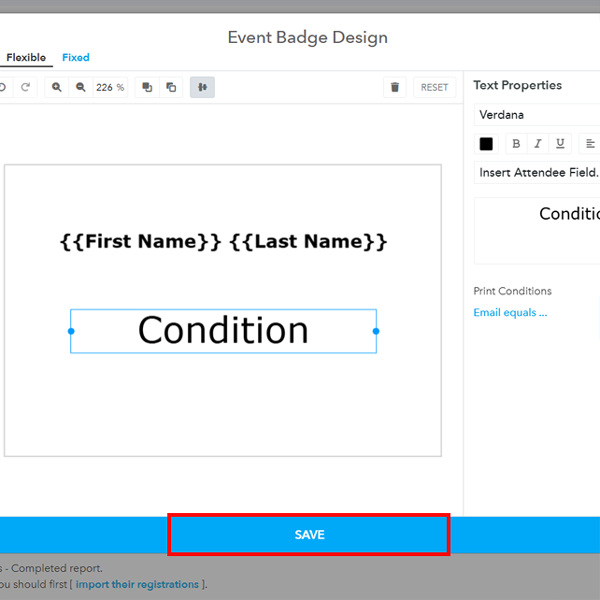
- Then click “Save”
- Log in to your account on Eventleaf.com and select the event you want to manage.
-
Real-Life Use Cases
Not sure when you'd actually use this? Here are a few scenarios where conditional badging saves the day.
-
The "Quiet" VIP Indicator
You want your staff to know who the VIPs are, but you don't necessarily want a giant gold star on the badge. You can set a conditional rule to print a small, subtle code or symbol in the corner of the badge only for attendees who purchased a VIP ticket.
-
Dietary & Safety Alerts
Catering staff often struggle to identify attendees with severe allergies in a crowded room. You can create a conditional text field that prints "NUT FREE" or "GLUTEN FREE" in bold, readable text, but only for attendees who selected those options during registration.
-
Session-Specific Access
If you have workshops that require separate registration, you can print the workshop name on the badge only for those who signed up for it. This acts as an instant visual ticket for your door staff.