-
How to Customize the Event App - Step by Step
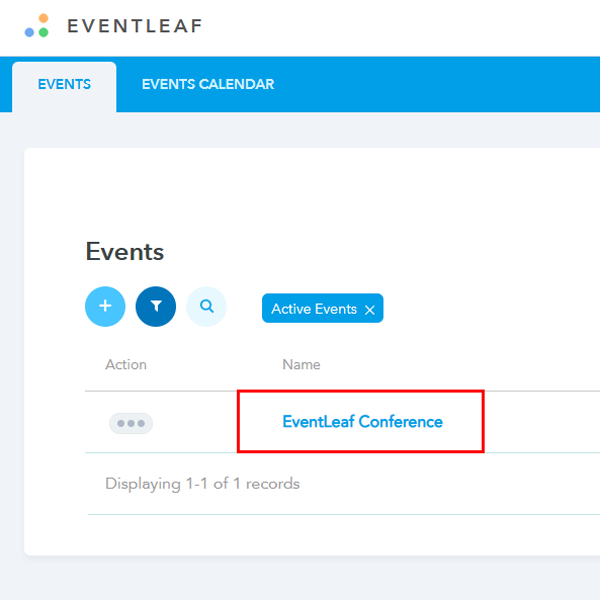
- Login to your Eventleaf account and open an existing event.
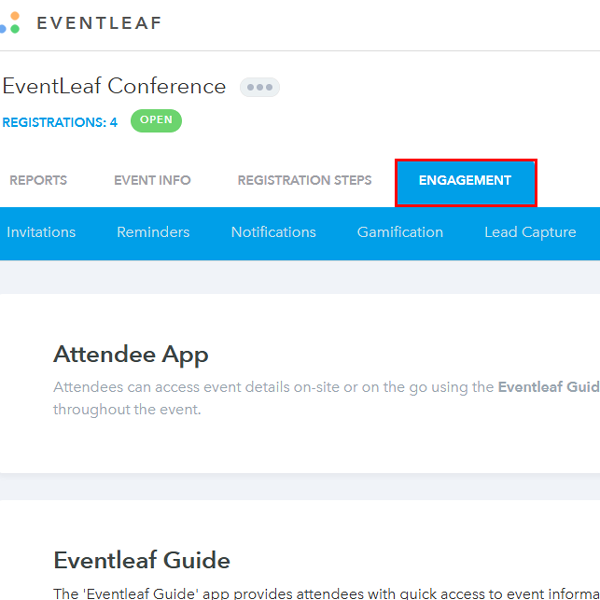
- From the tabs on the top, Click on Engagement
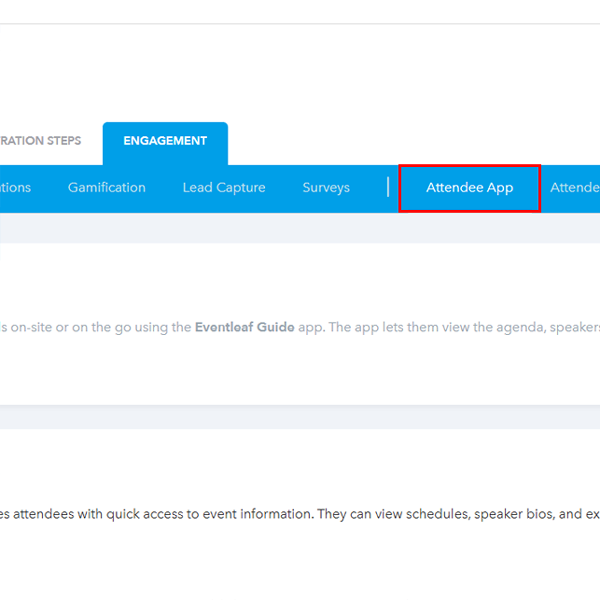
- From the blue bar under the main tabs, Click on Attendee App
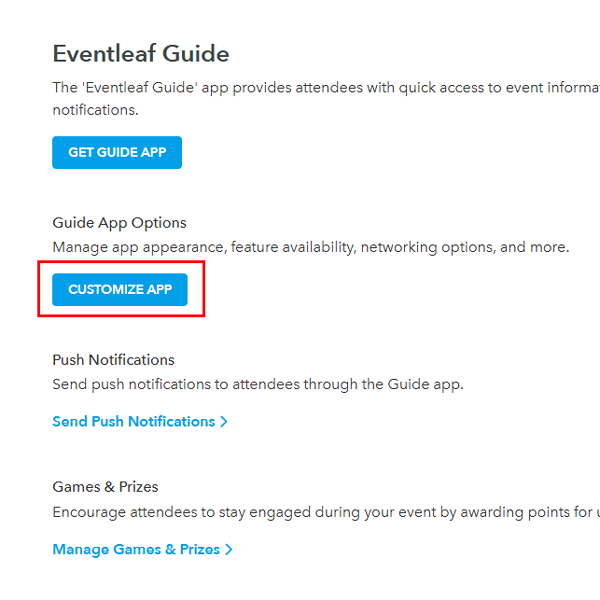
- Scroll down and click on Customize App
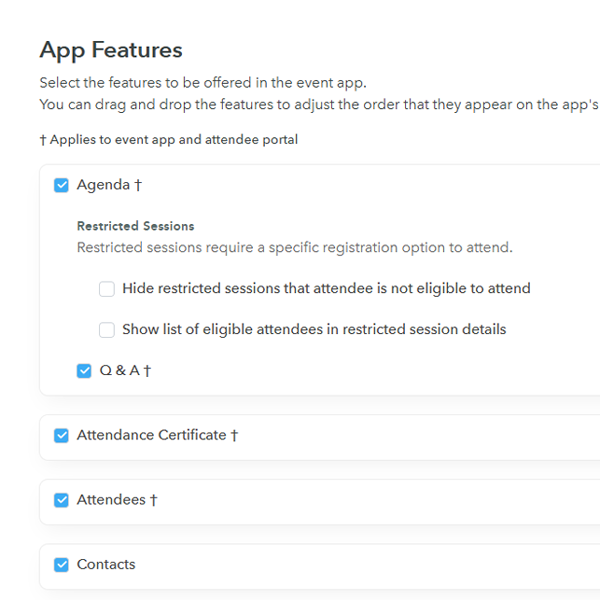
- From this page you can enable or disable the options you want to show on the attendee app.
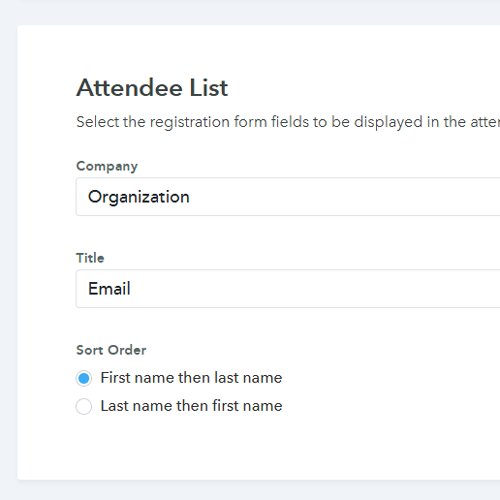
- If you scroll down, you should see the attendee list option. You may select the registration form fields to be displayed in the attendee list alongside the name.
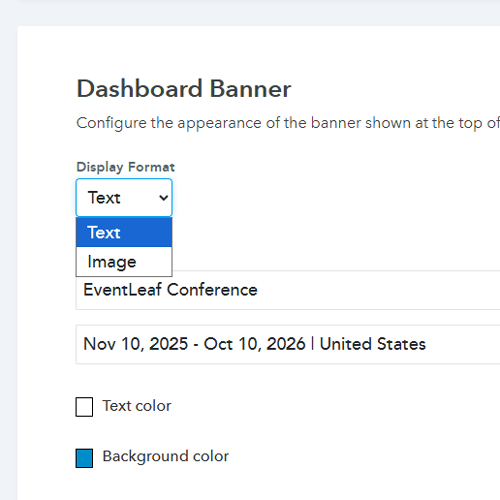
- Once you further scroll down, you can customize the appearance of the banner shown at the top of the dashboard in the event app. You can select Text or Image based on your requirement.
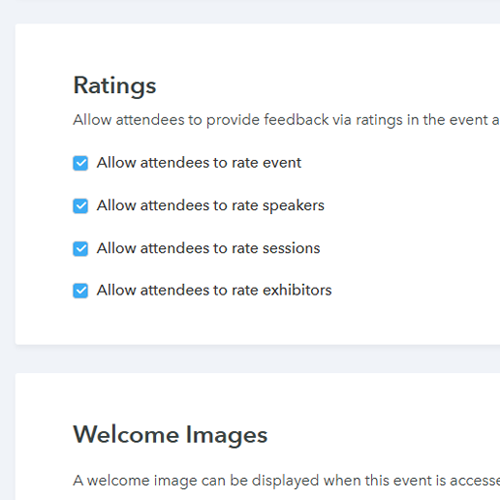
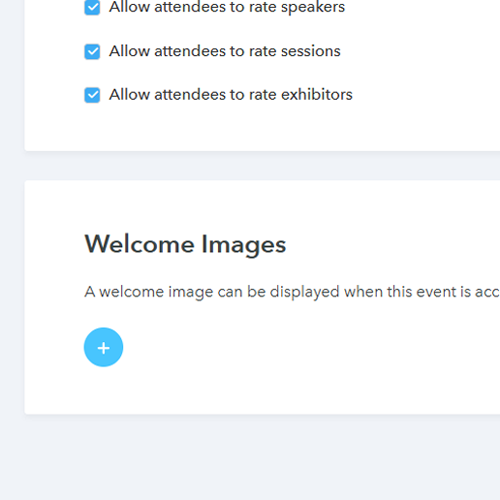
- After Dashboard Banner, attendees can be provided access to rate the event, speakers, sessions and exhibitors via ratings. These options can be enabled or disabled.
- Lastly, you can upload a welcome image which will show once the attendee has logged in to the app.
- Login to your Eventleaf account and open an existing event.
-
Practical Use Cases
Not sure which toggles to flip? Here are a few common scenarios to help you decide how to set up the app for your specific event.
-
The Networking Booster
If your main goal is getting people to talk to each other, you want to loosen the reins on the Attendee List.
- The Setup: Configure the list to show not just names, but "Job Title" and "Company" directly on the main view.
- The Result: Attendees can scroll through and immediately spot valuable connections without having to click into every single profile. It removes the friction from networking.
-
The Sponsored Trade Show
You have sponsors who paid good money for visibility. The Dashboard Banner is your best friend here.
- The Setup: Switch the banner setting from "Text" to "Image" and upload a graphic that features your top-tier sponsor's logo alongside your event branding.
- The Result: Every time an attendee opens the app to check the schedule, that sponsor gets a prime impression. You can also enable Exhibitor Ratings so you can report back to vendors on who had the most engaging booths.
-
The Internal Training Seminar
For internal corporate events, branding matters less than data.
- The Setup: Turn on Session Ratings and Speaker Ratings.
- The Result: You get immediate, honest feedback on which training modules resonated and which ones put the room to sleep. This data is gold when you are planning next quarter's curriculum.