-
1. Check your plan (Crucial Step)
The Leads App is a premium feature exclusive to the Ultimate Plan.
- If you don't see the options: If you are browsing your dashboard and can't find the "Lead Retrieval" or "Exhibitor Users" settings, you are likely on the Basic or Professional plan.
- How to fix it: You don't need to reinstall anything. Simply navigate to your account settings and upgrade your event to the Ultimate Plan. The moment the upgrade is processed, the Lead Retrieval features will instantly "unlock" in your dashboard, allowing you to start adding users immediately.
-
2. Connect the profile
You can't just add a random email address; the user must be explicitly tied to an existing exhibitor profile in your event dashboard.
Here is how you get them connected and ready to scan.
-
Step-by-Step Guide to Granting Exhibitor Access to the Leads App
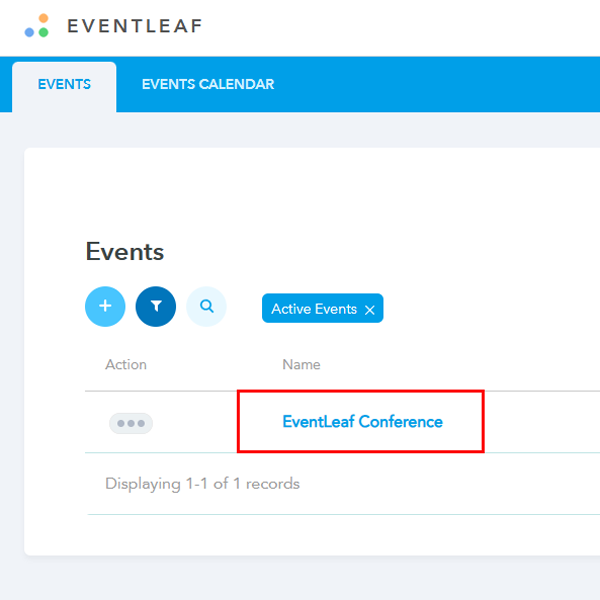
- Login to your Eventleaf account and open an existing event.
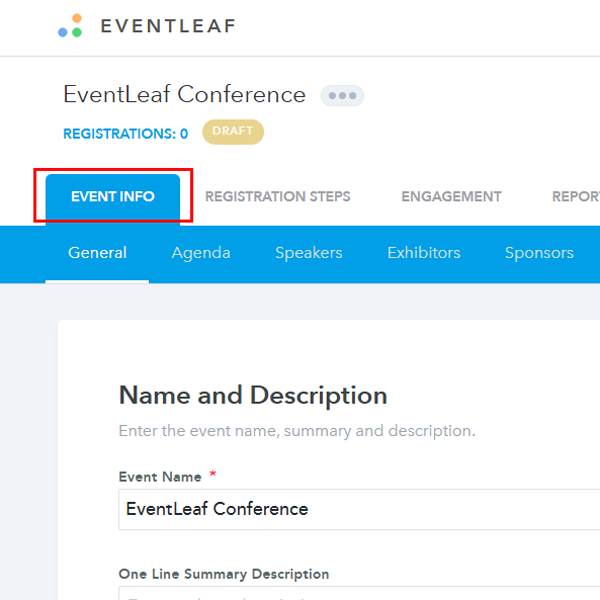
- From the tabs on the top, click Event Info.
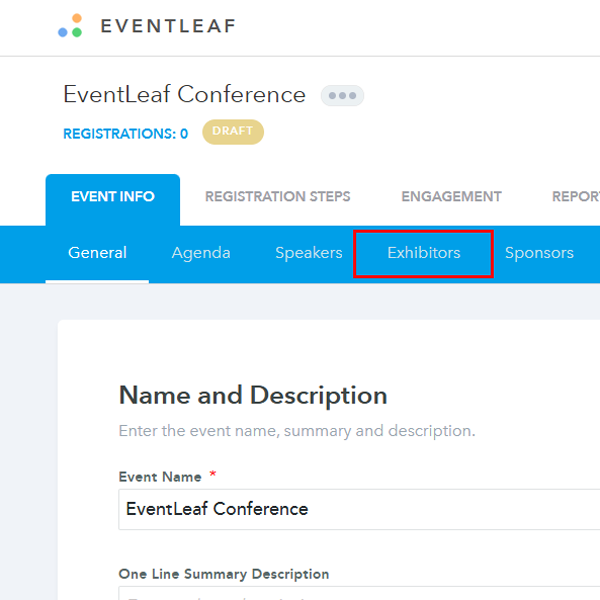
- Click on Exhibitors
- You will see a list of exhibitors.
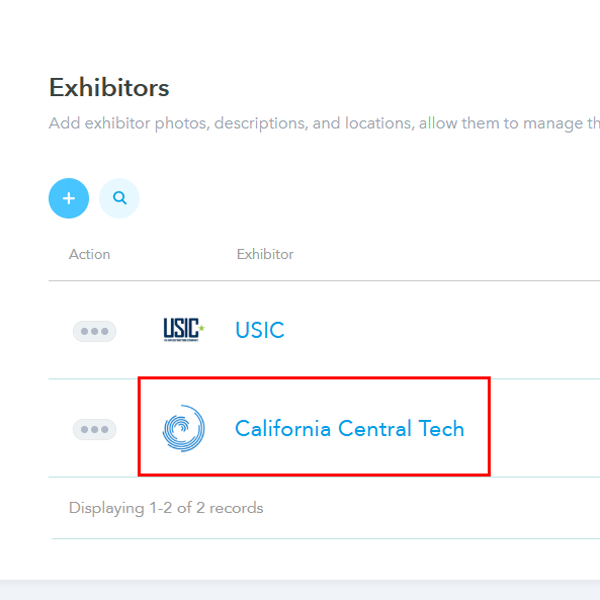
- Open an existing exhibitor that has been created
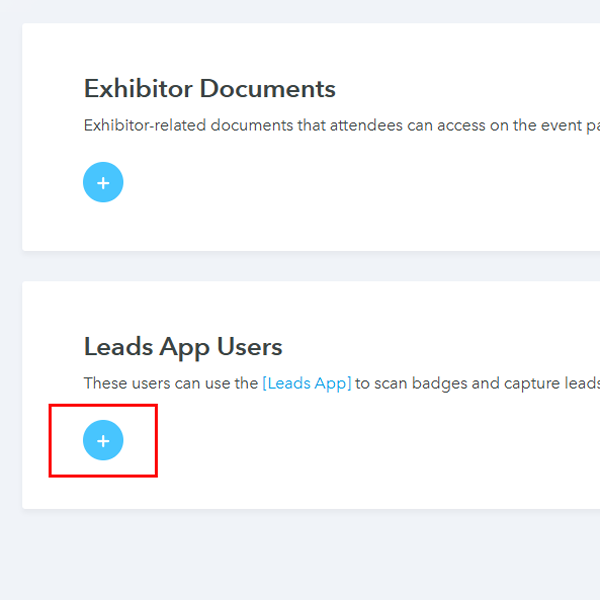
- Scroll down and click the '+' icon under “Leads App Users”
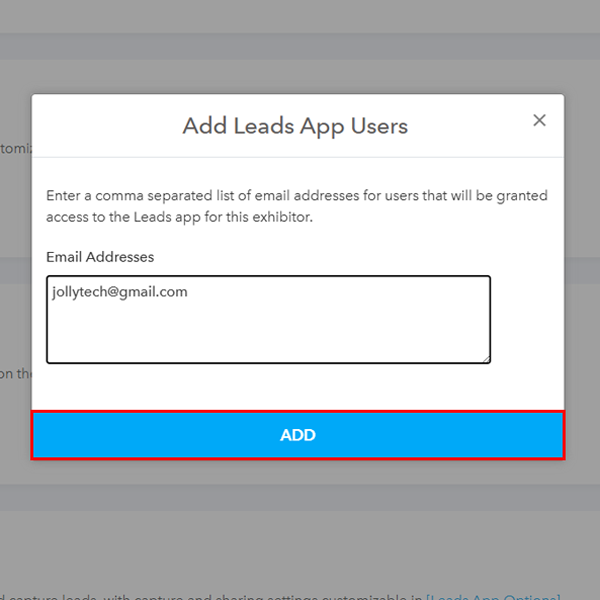
- Type the email address you want to invite as the Leads App user and click Add.
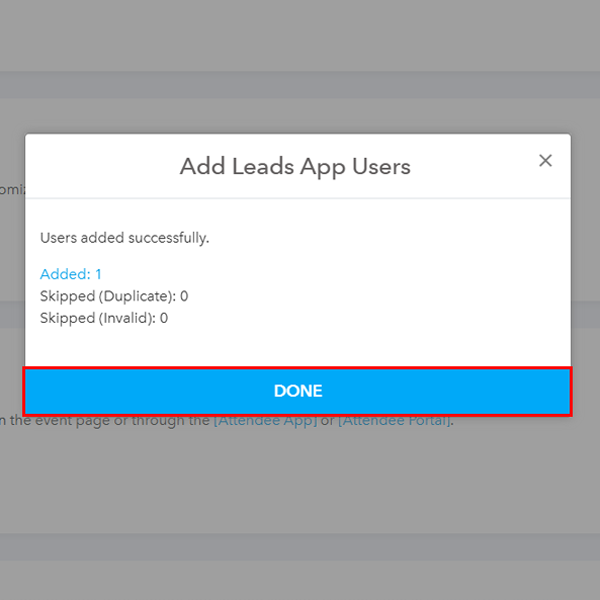
- Click on “Done” on the pop-up.
- Open the Eventleaf Leads App and enter the email address and click on next.
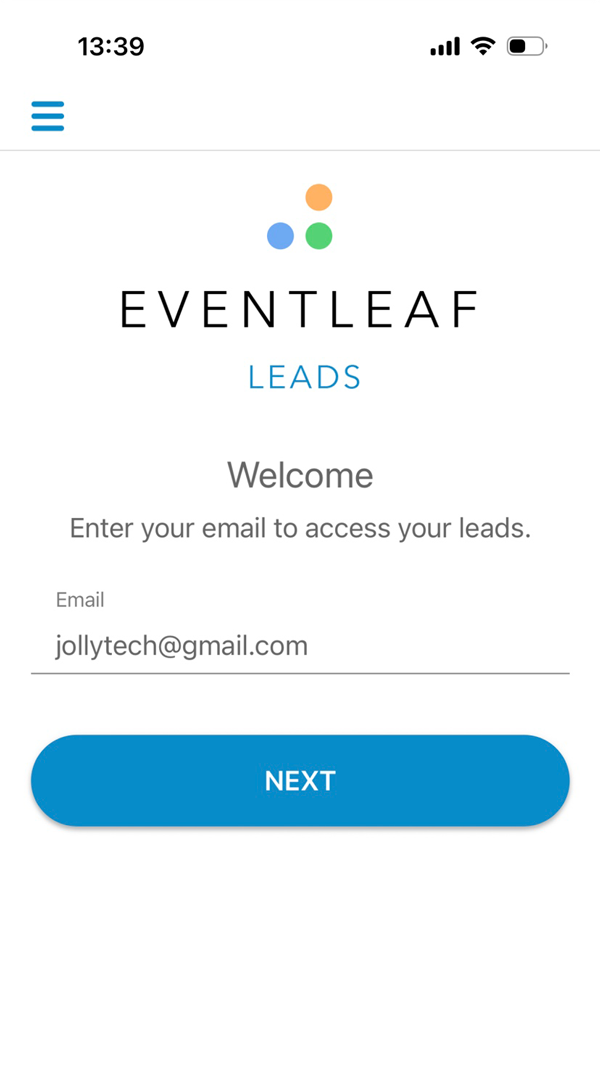
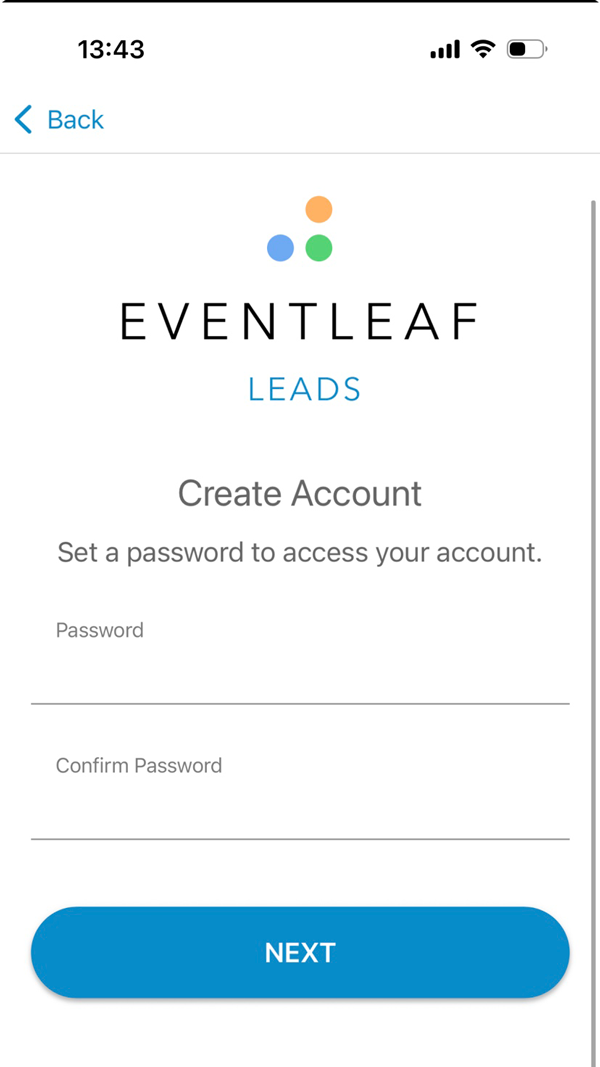
- Set a password to access your account and click on Next.
- After hitting next, you will receive a confirmation email to activate your account.
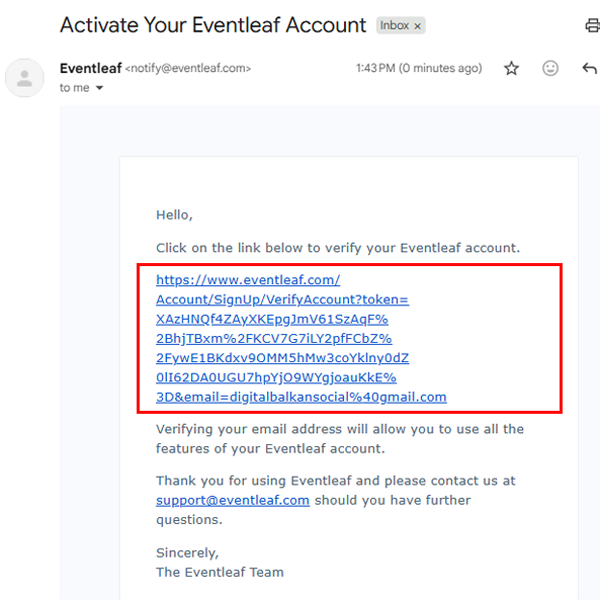
- Once activated, you should be able to login to the Leads app.
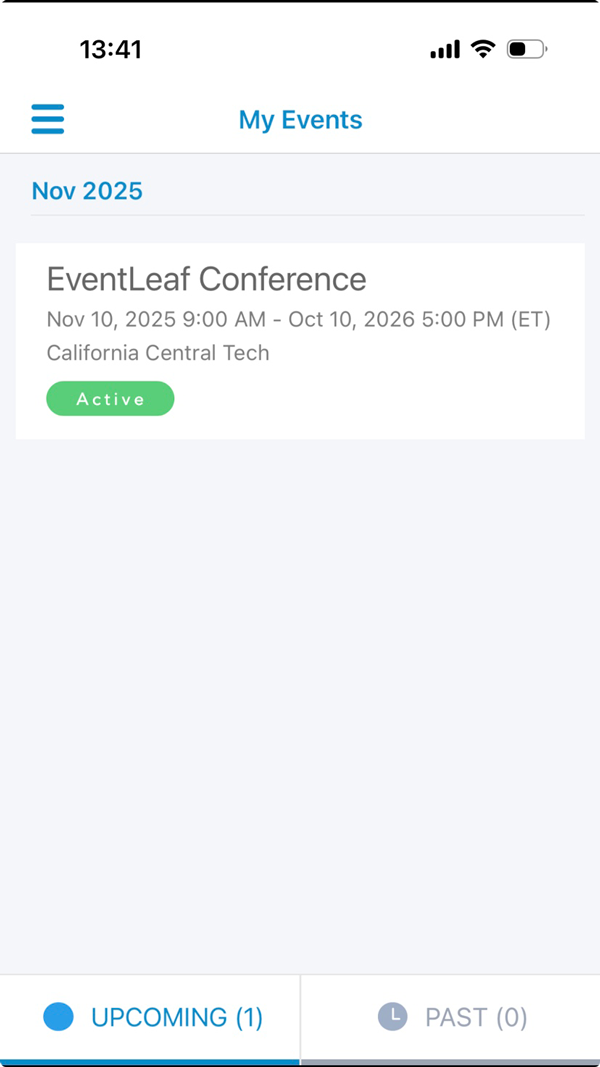
- Login to your Eventleaf account and open an existing event.
-
Practical Use Cases
Understanding how to add a user is great, but knowing when and why helps you manage your floor better. Here are a few common scenarios where managing these specific access rights saves the day.
-
The "All-Hands" Strategy
You have a major sponsor bringing a team of ten people to man a large island booth.
- The Challenge: If they all share one generic login, you lose accountability. You won't know which sales rep scanned which lead.
- The Fix: Use the steps above to give every single booth staffer their own unique login. This allows the exhibitor to export data later and see exactly who the top performer was, rating leads and adding notes individually rather than creating a messy, mixed-up list.
-
The Agency Handoff
Often, a large brand will hire an external marketing agency to run their booth.
- The Challenge: The brand wants the agency to capture leads, but they don't want to give an external contractor full administrative access to their sensitive event data or exhibitor portal.
- The Fix: By adding the agency staff specifically as "Leads App Users" only, you give them the exact tool they need to do their job (scanning badges) without opening the door to the rest of the exhibitor's private settings.
-
The Last-Minute Roster Swap
Events are unpredictable. A scheduled booth staffer calls in sick the night before the event, and the exhibitor flies in a replacement rep on the red-eye flight.
- The Challenge: The new rep arrives at the venue with no credentials and no way to access the scanning tools, creating friction at the help desk.
- The Fix: Because Eventleaf is cloud-based, you (or the main exhibitor admin) can add this new user in seconds via the dashboard. By the time the new rep walks onto the show floor, their invite email is already in their inbox, and they are ready to start scanning immediately.
-
The "Remote" Sales Director
Sometimes, the most important person isn't even at the venue. A VP of Sales might be back at headquarters wanting to monitor the event's success in real-time.
- The Challenge: Usually, stakeholders have to wait days for the team to return, compile business cards, and type up spreadsheets before they see any results.
- The Fix: By granting the VP access as a user, they can log into the Eventleaf portal from their office and watch the leads roll in live. They can see which booth is performing best and even prepare follow-up emails before the expo hall closes, bridging the gap between the event floor and the home office.
Frequently Asked Questions
Check out this video on How to Collect Profitable Leads with Eventleaf to see a visual walkthrough of the setup process we just discussed.